With that, I'm not going to bother editing much even though the news is out of date but am just going to get the last posts up so that everyone can get their quilts finished.
Summer has been keeping me busy. While the kids are home I don't get nearly as much done as I would like but we have been enjoying our summer. Mom had the kids down in Rocky Mountain House for a couple of weeks so I put a lot of time into getting a ton of work done. The baking for school lunches for the next year is finished and packed into the freezer and the kids beds have been washed completely, including the quilts and I have gotten a good amount of practice done on my new longarm. I have also been working on labelling school supplies, some EPP sewing and Farmer's Wife sewing.
Suzanne has also been sewing. She sent photos for us to share!
Butterfly at the Crossroads:

Country Farm:

Cats and Mice:

Duck and Ducklings:

Hill and Valley:

Seasons:

Mother's Dream:

Great blocks!
This week we are starting with the foundation piecing blocks. I'll give fairly detailed instructions for the first block but once you have done one foundation piecing, the basic instructions remain the same for the rest.
Foundation piecing is not difficult once you know how to do it. It is extremely accurate, particularly for harder angles and very tight points but I do find it much more time consuming than the type of piecing we have been doing. I also find it a bit more wasteful because of the trimming but I really did not want to try to figure out how to do the fourteen blocks I foundation pieced without foundation piecing them.
The measurements that I have posted for fabric cuts worked for me with starting out with "new" fabric but if you are using scraps, remember that you just need a piece that is 1/4" bigger on all sides as the space you need to cover.
There will be seven blocks on this post and then another post right away with seven more foundation pieced blocks.
The last two foundation pieced blocks will be the final post because they have the "Y" seams.
The first block this week is Block #66 - Periwinkle.
 Cut two 4" x 3" red rectangles.
Cut two 4" x 3" blue rectangles.
Cut eight 4" x 3" grey rectangles.
Print the foundation papers.


Place the foundation paper so that the printed side faces down. Place a red rectangle on the paper so that the right side of the fabric faces up. Take a grey rectangle and place it RST with the red rectangle. The grey rectangle should hang a bit more than a 1/4" over the seam line.

Pin the three pieces together. Flip them over and sew on the line on the paper. Trim the seam and press open.

Repeat with another grey rectangle on the other side of the red rectangle.

Flip your paper over and trim a 1/4" from the stitch line. DO NOT just trim on the outer line. These can be less than accurate.

Repeat with the other three papers and the two blue rectangles and the remaining red rectangle.

You should now have four triangles that look like the picture to the right.

Place two triangles RST and sew a 1/4" seam. Set the seam and press to one side. Repeat with the other two triangles.
Place the two large triangles RST and sew a 1/4" seam. Set the seam and press to one side. Lastly, remove the papers from the back side and the first foundation pieced block is finished!

Our second block this week is Block #108 - Windmill.
 Cut two 4 1/2" x 4 1/2" raspberry squares. Cut these on the diagonal.
Cut two 2" x 5 1/4" blue rectangles.
Cut two 2" x 5 1/4" green rectangles.
Print the foundation papers.

I placed the triangles first and then placed the rectangles RST on top. Pin the pieces together, flip over and stitch on the line. Set the seam and press the fabric open.

Trim a 1/4" from the inner stitch line.

Place two of the triangles RST. Sew a 1/4" seam, set the seam and press to one side. Repeat for the other two triangles.
Place the two large triangles RST and sew a 1/4" seam. Set the seam and press to one side. Lastly, remove the papers from the back side and the second foundation pieced block is finished!

Our third block this week is Block #97 - Waste Not.
 Cut four 2" x 4" purple rectangles.
Cut two 4 1/2" x 4 1/2" yellow squares. Cut these on the diagonal.
Cut two 4 1/2" x 4 1/2" raspberry squares. Cut these on the diagonal.
Print the foundation papers.

I chose to place the purple rectangles first and then place the yellow triangles RST on top. Pin the pieces together, flip over and stitch on the line. Set the seam and press the fabric open.

Place the raspberry triangles RST next. Pin the pieces together, flip over and stitch on the line. Set the seam and press the fabric open. Trim a 1/4" from the inner stitch line.
Place two of the triangles RST. Sew a 1/4" seam, set the seam and press to one side. Repeat for the other two triangles. Place the two large triangles RST and sew a 1/4" seam. Set the seam and press to one side. Lastly, remove the papers from the back side and the third foundation pieced block is finished!

Our fourth block this week is Block #49 - Honeycomb.
I originally did this block without foundation piecing but essentially did it with a pencil and ruler and it was a pain. It would have been so much more simple to just do it with foundation piecing so that is the instructions I am giving you even though I don't have great photos for it.
 Cut eight 4" x 2" brown rectangles.
Cut sixteen 1 1/2" x 3 1/4" yellow rectangles.
Print the foundation papers.

Place the brown rectangles first and then place the yellow rectangles RST on top. Pin the pieces together, flip over and stitch on the line. Set the seam and press the fabric open. Repeat for the other yellow rectangles on the other side. Trim a 1/4" from the inner stitch line.
Organize your pieces the way you want them to look. Sew the eight pieces together and your Honeycomb block is finished!

Our fifth block this week is Block #94 - Tall Pine Tree.
 Cut four 4" x 2 1/2" green rectangles. Cut these on the diagonal.
Cut four 4" x 2 1/2" orange rectangles. Cut these on the diagonal.
Cut four 1 1/4" x 3 1/2" orange rectangles.
Print the foundation papers.
The pictures don't show it since I made a mistake but two of the green rectangles and two of the orange rectangles need to be cut in the opposite diagonal direction as the other two.

Place one of the triangles first and then place the other triangle RST on top.

Pin the pieces together, flip over and stitch on the line. Set the seam and press the fabric open.

Trim a 1/4" from the inner stitch line.

Repeat until you have eight half rectangle triangles (HRT). Organize your pieces the way you want them to look.

Place two HRTs RST. Sew a 1/4" seam, set the seam and press to one side. Repeat for the other three HRT pairs.

Place the narrow orange rectangle RST with the larger piece. Sew a 1/4" seam, set the seam and press to one side. Repeat for the other three HRT pairs.
This is the point at which I removed the papers from the back to make the piecing easier.

Place the top two pieces RST. Sew a 1/4" seam, set the seam and press to one side. Repeat for the bottom two pieces.
Place the two large pieces RST. Sew a 1/4" seam, set the seam and press to one side and our block is finished!

Our sixth block this week is Block #83 - Spider Web.

Cut one 2" x 12" black strip.
Cut two 3" x 3" purple squares. Cut these on the diagonal.
Cut four 2" x 4 1/2" purple rectangles.
Cut one 3" x 12" black strip.
Each of the strips will need to be sub-cut to fit the spaces they need to fill.
Print the foundation papers.

Place one of the large black trapezoids on one of the triangle papers and then place the purple rectangle RST on top. Pin the pieces together, flip over and stitch on the line. Set the seam and press the fabric open. Trim a 1/4" from the inner stitch line.
Place one of the purple trapezoids on one of the kite papers and then place the black trapezoid RST on top. Pin the pieces together, flip over and stitch on the line. Set the seam and press the fabric open.
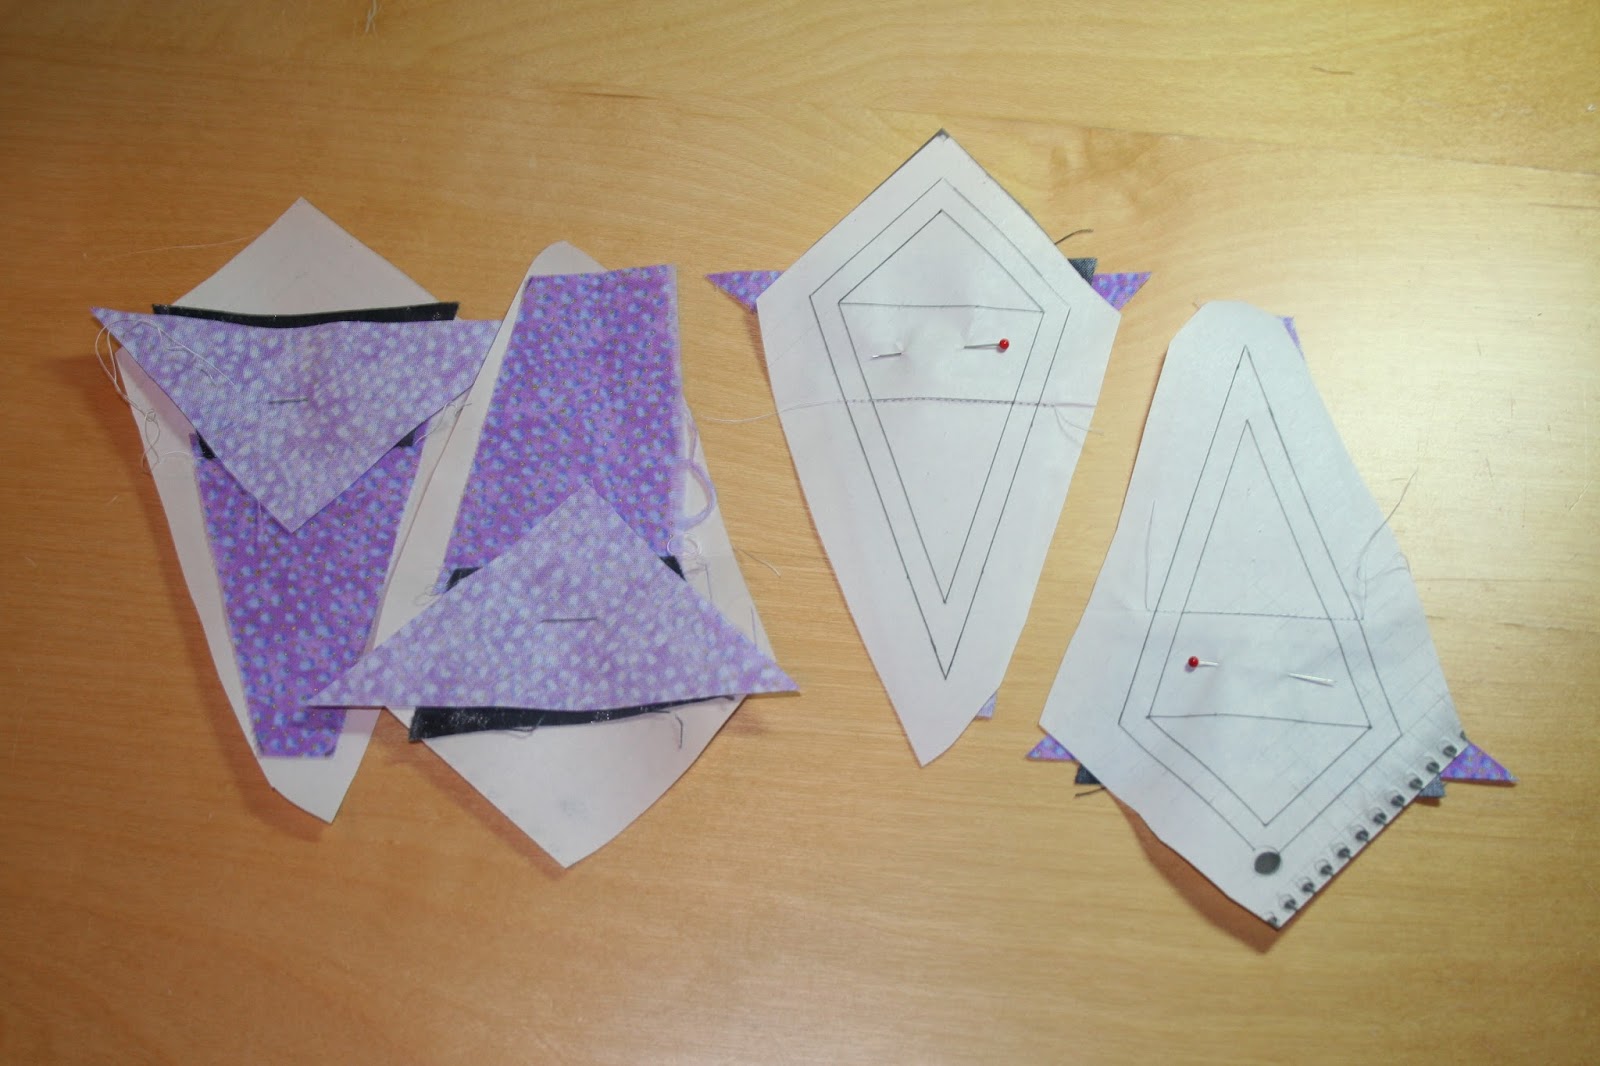
Place one of the purple triangle RST on the edge of the black trapezoid of the kite papers. Pin the pieces together, flip over and stitch on the line. Set the seam and press the fabric open. Trim a 1/4" from the inner stitch line.

Organize your pieces the way you want them to look.

Place a triangle and a kite RST. Lining the seams up is important for this block. Pin the pieces together, flip over and stitch on the line. Set the seam and press the fabric open.


Repeat for the other three kite/triangle pairs.

Place one kite/triangle pair RST with another kite/triangle pair, again watching for the seams to match. Pin the pieces together, flip over and stitch on the line. Set the seam and press the fabric open.
Place the two large pieces RST. Pin the pieces together, flip over and stitch on the line. Set the seam and press the fabric open. Remove the papers from the back and our Spider Web block is complete!

Our seventh block this week is Block #65 - Peaceful Hours.
 Cut four 1 3/4" x 1 3/4" grey squares. Cut these on the diagonal.
Cut four 2 1/4" x 2 1/4" grey squares. Cut these on the diagonal.
Cut eight 2 1/4" x 2 1/4" pink squares.
Cut two 2 1/2" x 2 1/2" orange squares.
Cut two 2 1/2" x 2 1/2" grey squares.
Cut one 3 1/2" x 3 1/2" orange square.
Cut four 1 1/4" x 1 1/4" grey squares.
Print the foundation papers.
The pictures don't show it but two of the 2 1/4" grey squares need to be cut in the opposite diagonal direction as the other two. The four squares also aren't cut into triangles but rather so that they look like triangles with one tip cut off. The third picture down from here show this better.
The pictures don't show it but two of the 2 1/4" grey squares need to be cut in the opposite diagonal direction as the other two. The four squares also aren't cut into triangles but rather so that they look like triangles with one tip cut off. The third picture down from here show this better.

Place one of the pink squares on one of the papers and then place the grey triangle RST on top. Pin the pieces together, flip over and stitch on the line. Set the seam and press the fabric open. Trim a 1/4" from the inner stitch line. Repeat for the other seven pink squares.
Place one of the 2 1/2" grey squares RST with one of the 2 1/2" orange squares and make them into HSTs. Repeat for the other 2 1/2" grey/orange squares.

Place a small grey square in each corner of the large orange square. Draw a line on the diagonal and sew on the line. Trim the corner off 1/4" from the seam line. Repeat for the other three corners.

This picture shows better what I mean by cutting the 2 1/4" squares on the diagonal so that they look like triangles with the corner cut off.

Then place the grey "triangle with the tip cut off" RST on top of the pink/grey piece. Pin the pieces together, flip over and stitch on the line. Set the seam and press the fabric open. Trim a 1/4" from the inner stitch line. Repeat for the other seven pink squares.


Once again you have a nine patch to put together.

Your seventh block for this week is complete!

That's the first seven foundation pieced blocks put together.
The next eight will be coming very soon!
Have fun.
Tara
No comments:
Post a Comment